
Step 2: PC Client Download & Installation
Welcome to VMOS Edge Local Cloud Machine Box!
This guide will take you from unboxing to successfully creating and experiencing your first cloud machine in just a few steps.
PC Client Download and Installation
1. System Requirements
- Operating System: Windows 10 (version 1809 or higher) / Windows 11
- Other Requirements:
- Administrator privileges (required during installation)
- Disable antivirus real-time protection (during installation)
2. Download Client
- Download Address: https://vmos-edge.xiaosuanyun.com/download/pc-client/VMOSEdge_pc.exe
- Download Installation Package
Click the corresponding download button, and the installation package will begin downloading. The downloaded file is usually named:
VMOSEdge_[Platform]_v[Version].exe For example: VMOSEdge_pc_1.0.20.1_202510261741.exe
::: tip Download Tips
- Installation package size is approximately 100-200MB, please ensure stable network connection
- It is recommended to use the official download link, avoid downloading from third-party websites
- If download speed is slow, you can try using download tools or changing network environment :::
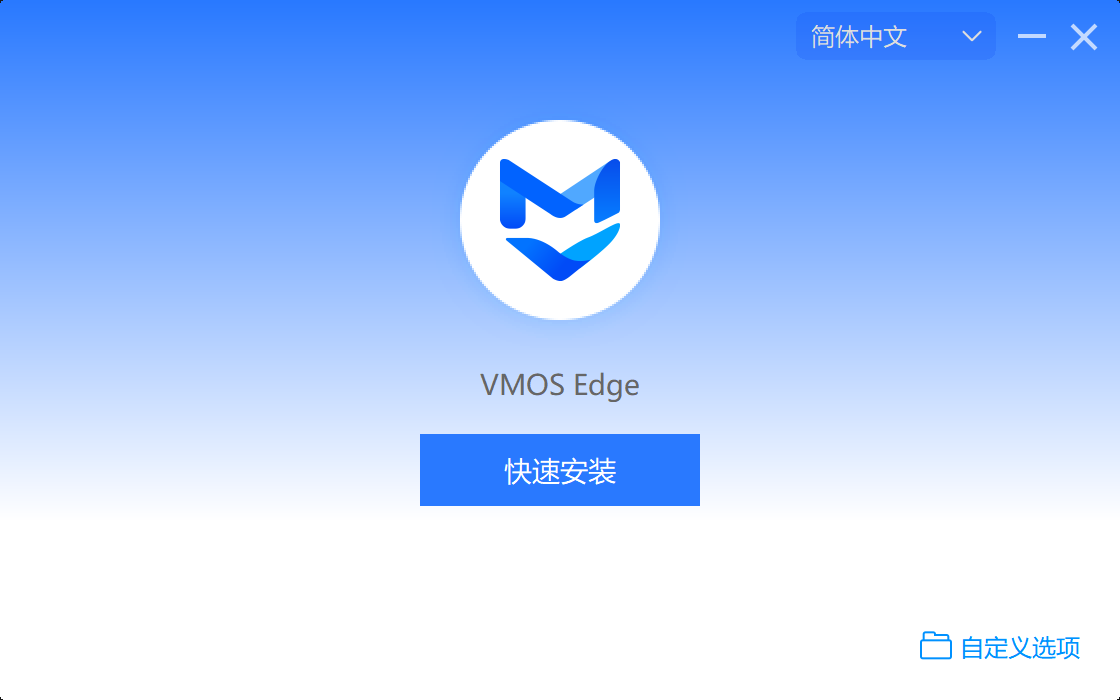
3. Installation Wizard
Run Installer After download is complete, double-click the installation package file to begin installation:
Click Quick Install
After installation is complete, click "Open" to enter the main interface
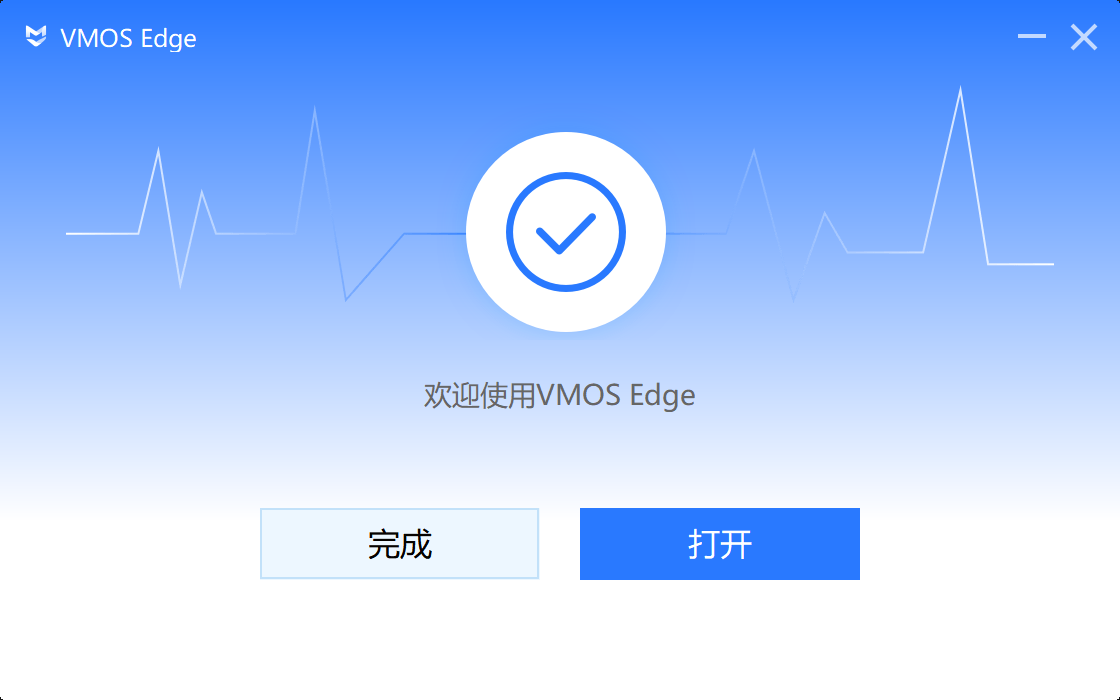
💡 For first run, ensure PC and box are on the same local network.
4. First Connection to Box
VMOS EDGE supports two ways to add hosts to the PC client: Automatic Discovery and Manual Addition.
Method 1: Automatic Host Discovery (Recommended)
Applicable Scenario:
When PC client and host are on the same local network (same subnet), the system can automatically discover host devices.
Operation Steps:
- Ensure host and PC are connected to the same router or switch network.
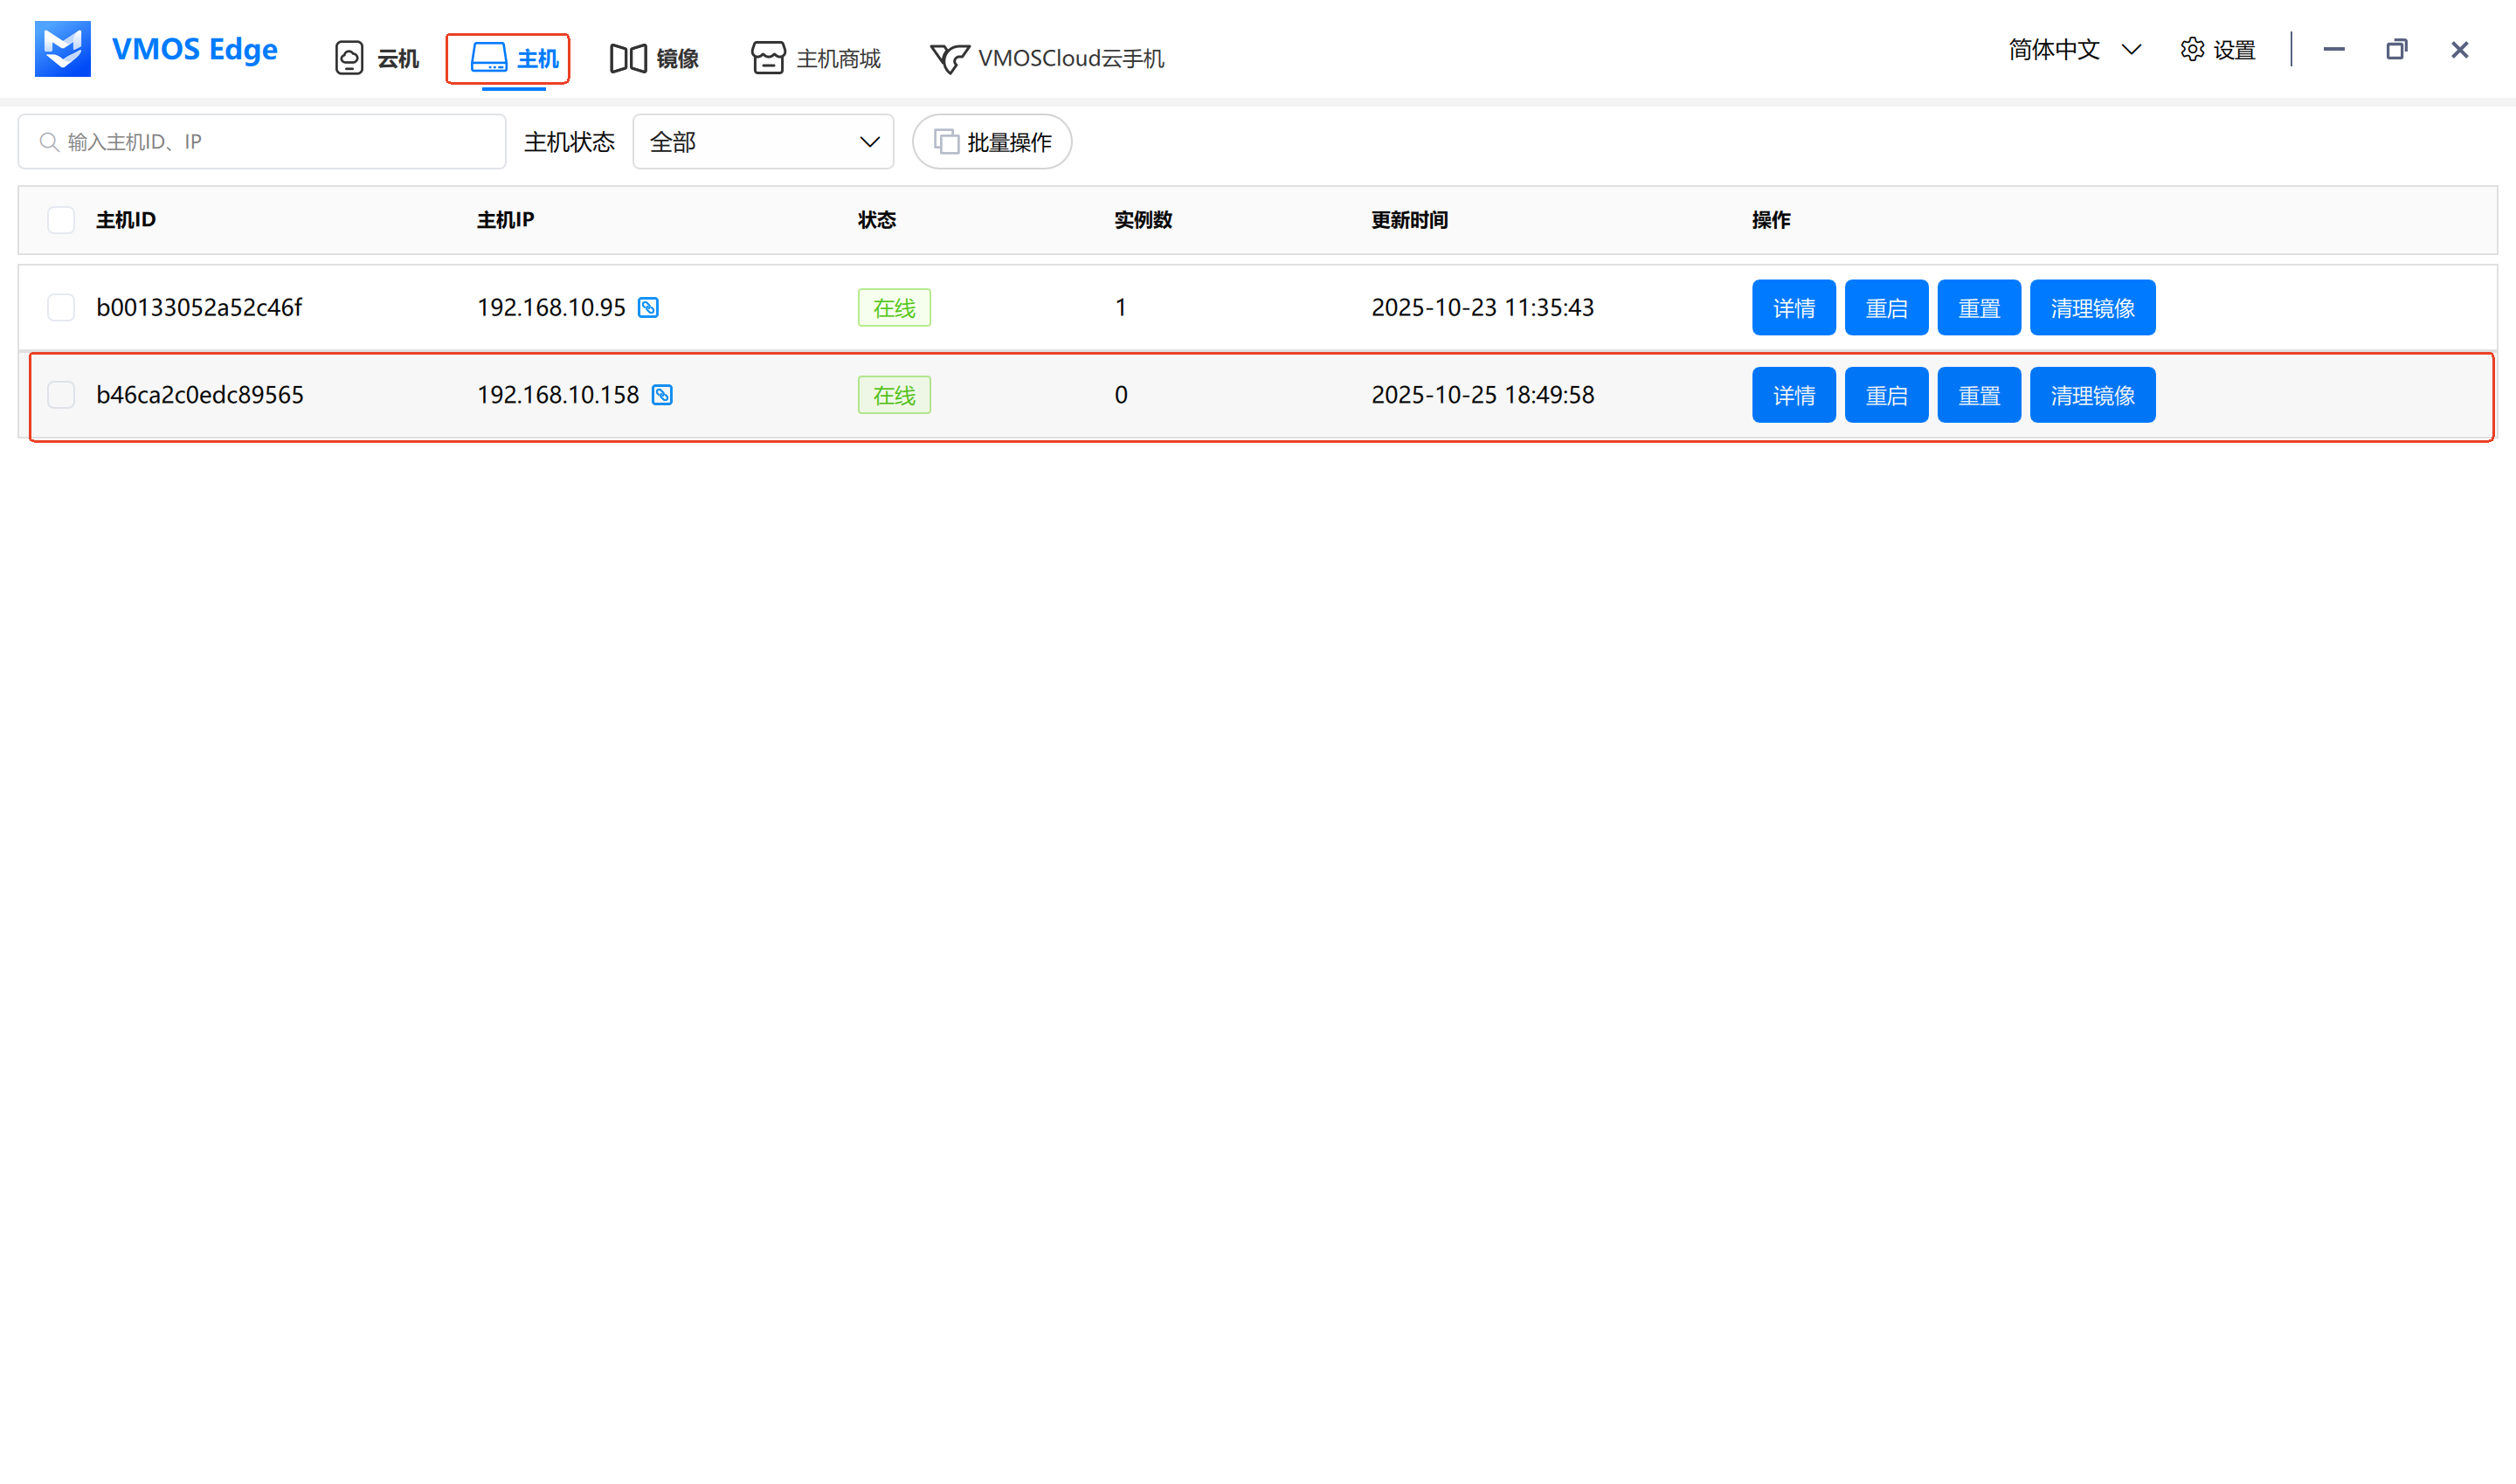
- Open PC client, enter the "Host" interface.
- The system will automatically scan devices on the same subnet and display online hosts.
- When host status shows Online, you can perform cloud machine management and connection operations.
Tips:
If not automatically displayed, please check:
- Whether host and PC are on the same subnet;
- Whether host network is normal;
- Whether local network discovery service is blocked by firewall.
Method 2: Manual Host Addition
Applicable Scenario:
When PC client and host are not on the same subnet (such as cross-subnet, different router environments), you can add manually.
Operation Steps:
- Ensure PC client can Ping the host IP address.
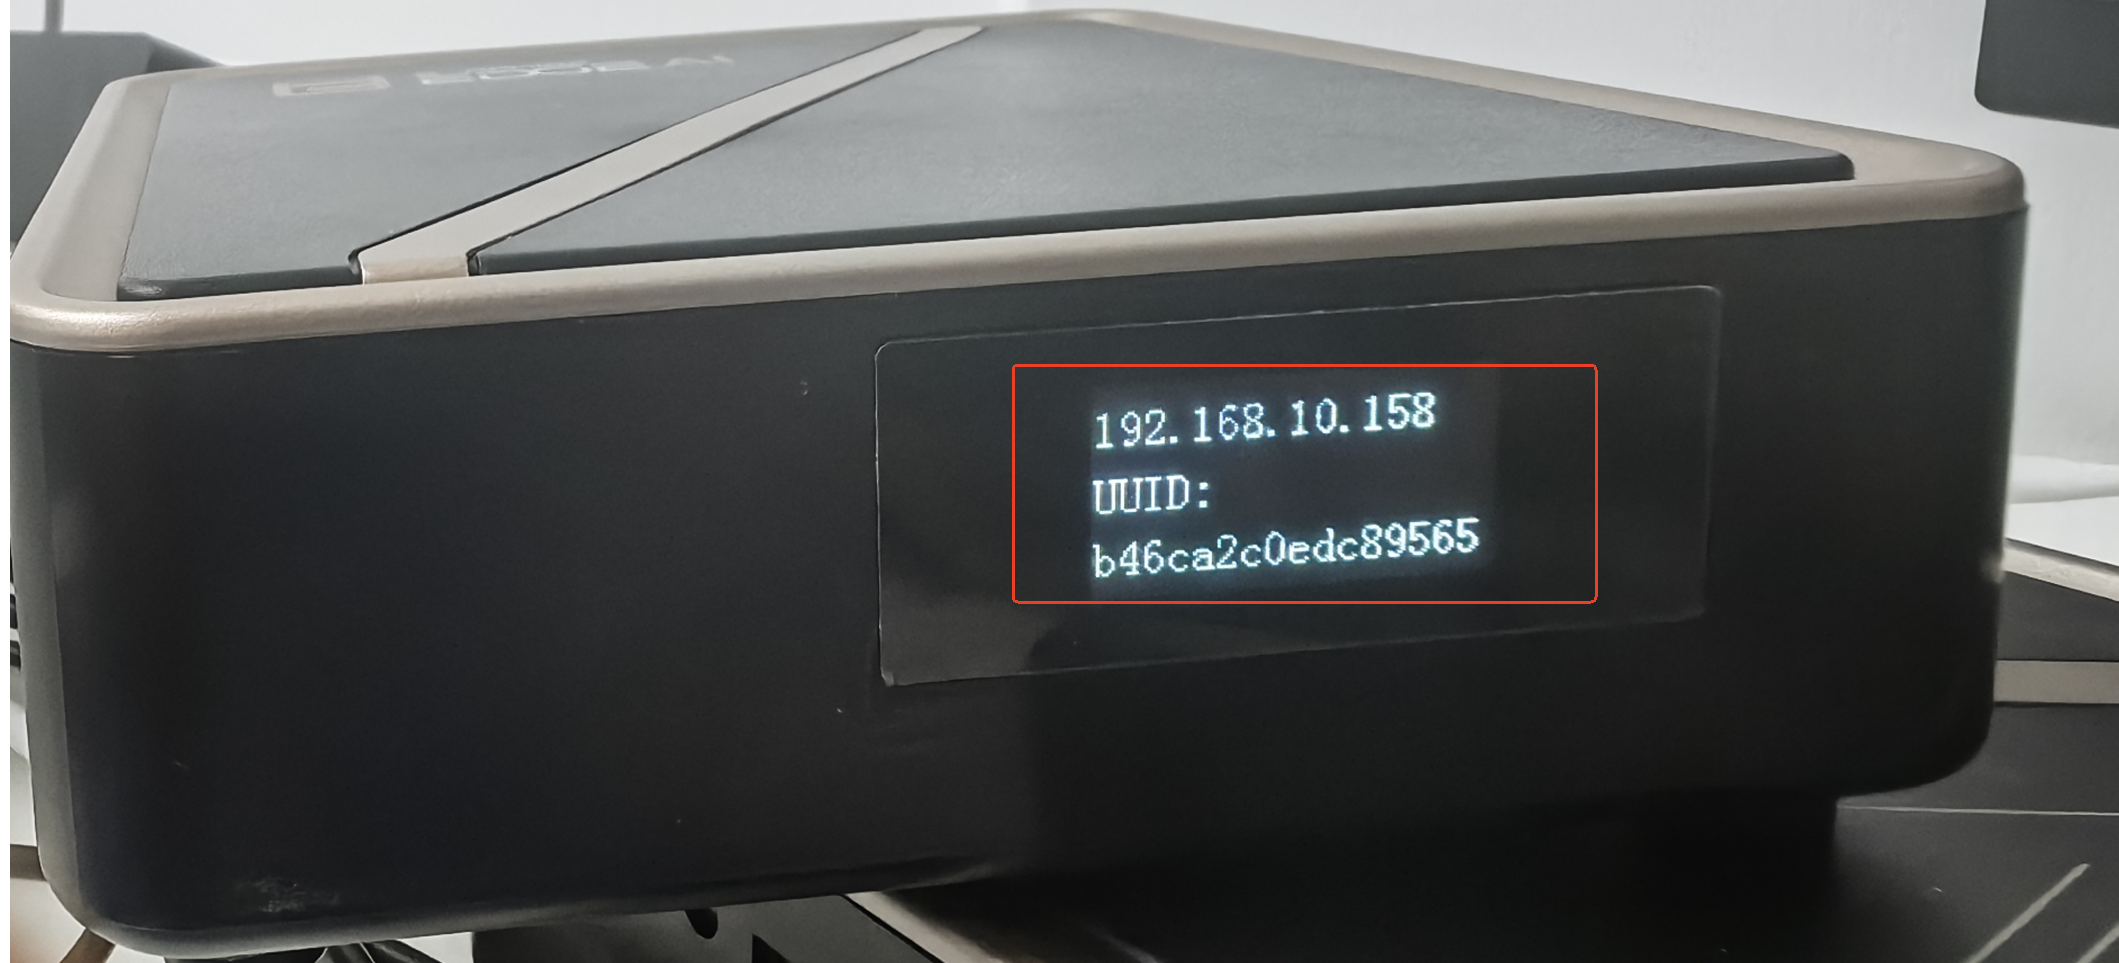
- On the host device, view the host IP address through the LED display screen.
- Open PC Client → Cloud Machine → Add Host.
- Enter the host IP address in the input box, click "Confirm" to add.
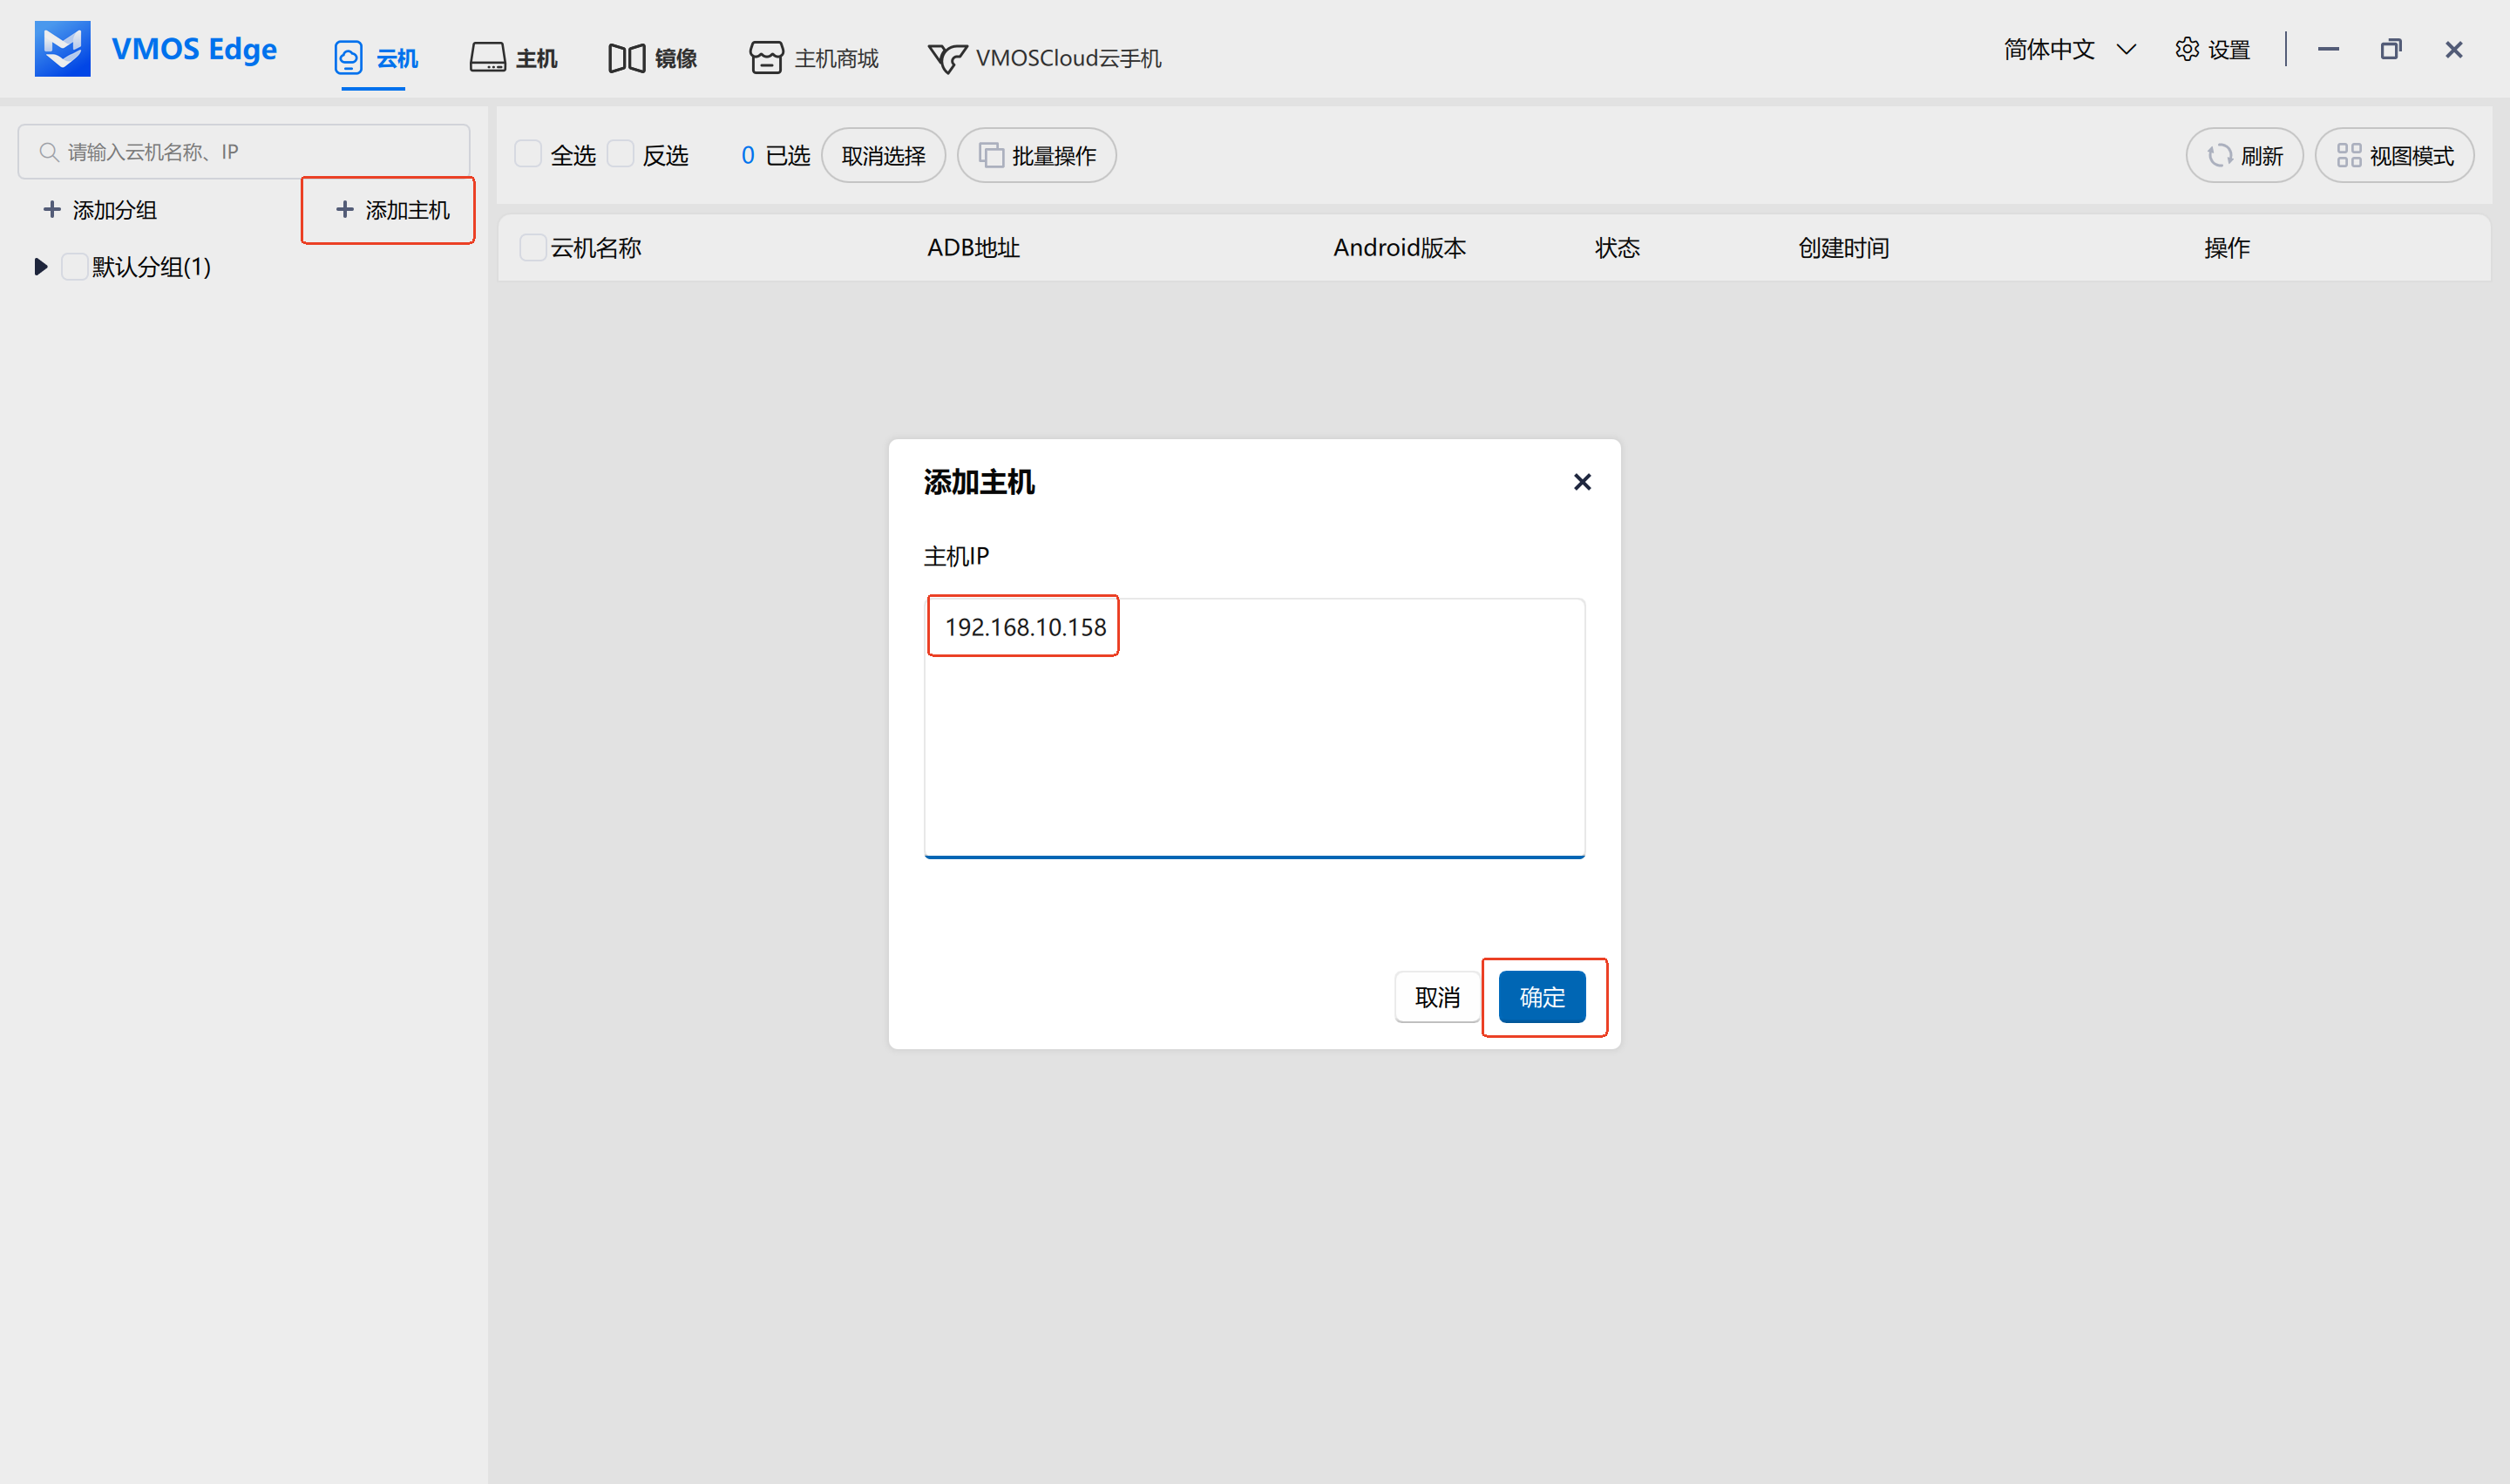
- After successful addition, the host will appear in the host list with status showing Online.
Tips:
- If addition fails, please verify network connectivity again (Ping test).
✅ Recommendations
- Same subnet recommends using automatic discovery for quick identification and connection to hosts.
- Cross-subnet deployment or remote use, manual addition is more flexible, suitable for enterprise environments.


