
Cloud Machine Management
This chapter introduces the cloud machine management functions of VMOS L1 edge computing device, helping users master the creation, configuration, and daily operation and maintenance operations of cloud machines, improving the efficiency and flexibility of computing resource usage.
1. Create Cloud Machine
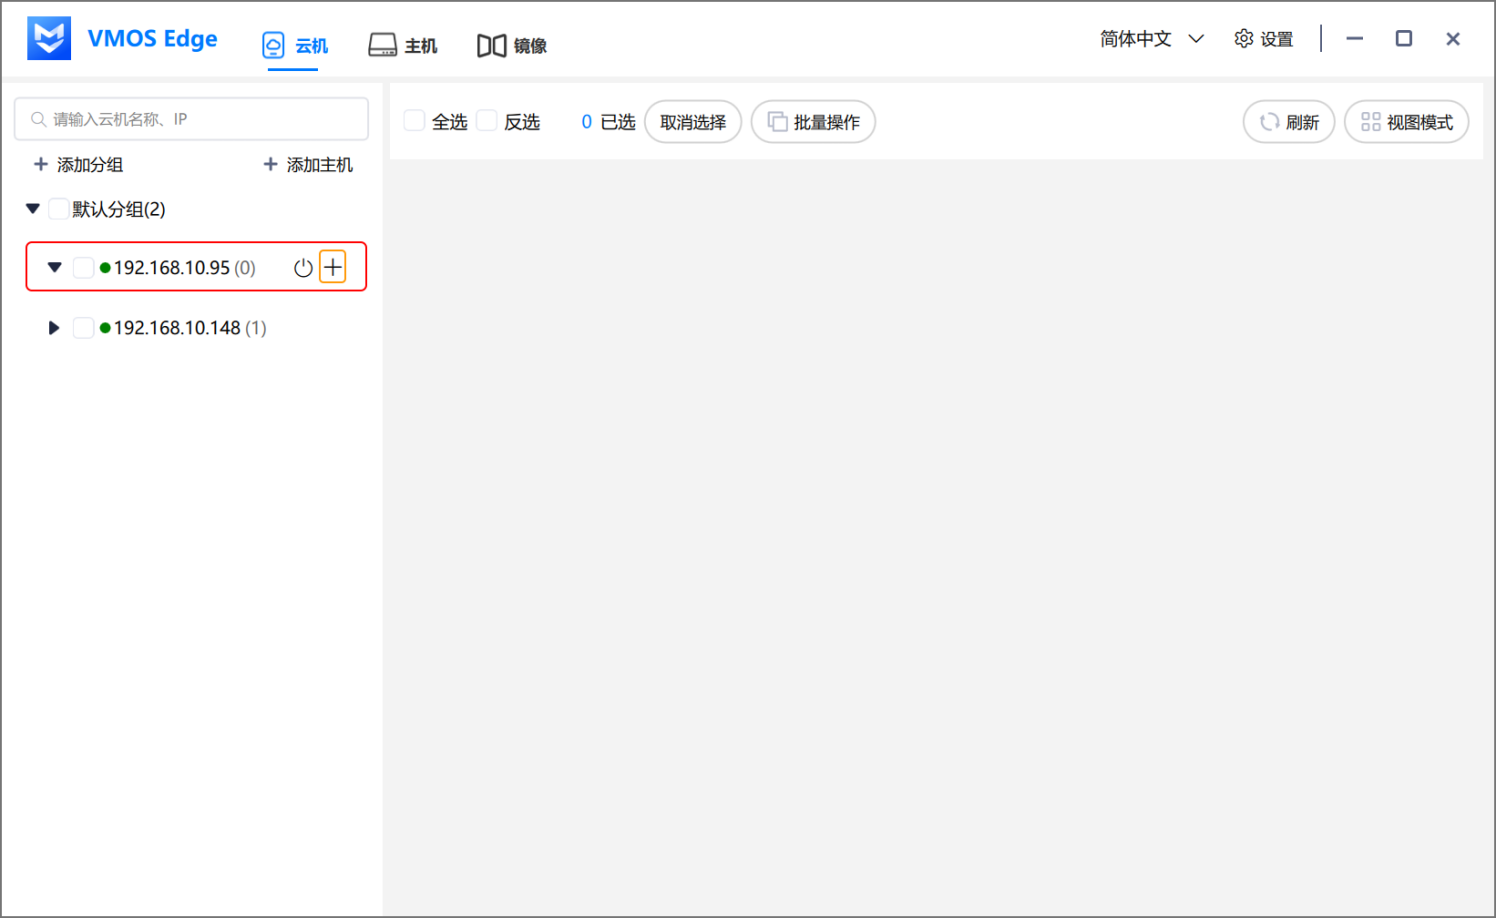
- Hover the mouse over the host name, click "➕" to add a cloud machine.
- Select:
- Uploaded image file
- DNS Type
- Brand Model
- Resolution
- Default cloud machine name is
vmos, which can be clicked to modify. - Select the number of cloud machines to create.
- If quantity > 1, names will be automatically generated with the name as prefix (such as
vmos_001,vmos_002). - Each host can create up to 16 cloud machines.

- If quantity > 1, names will be automatically generated with the name as prefix (such as
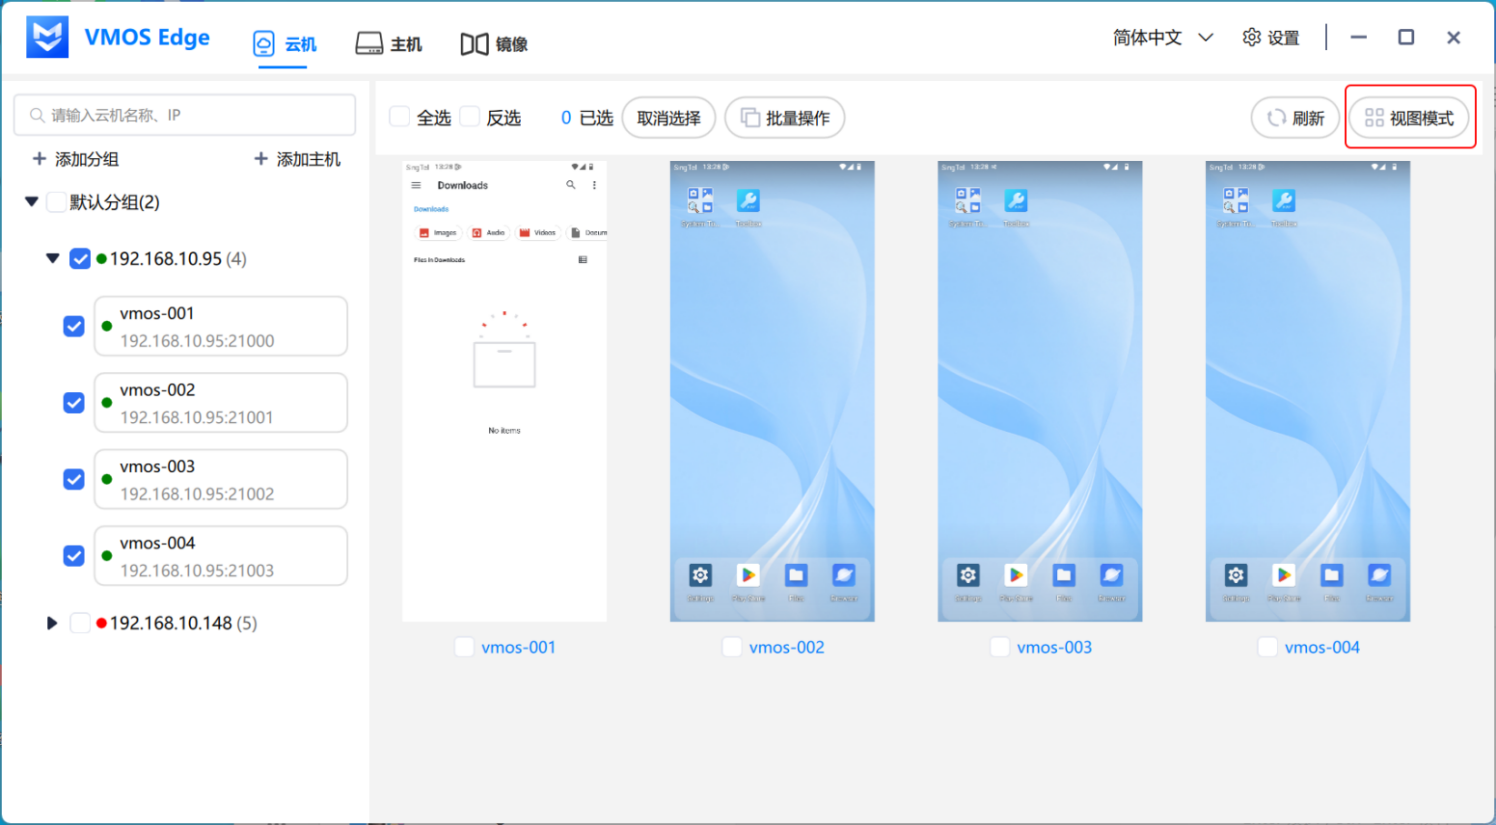
After successful cloud machine creation, you can click the "View Mode" in the upper right corner to switch:
- Window Mode
- List Mode
2. Cloud Machine Operation Buttons
In the cloud machine list page, hover the mouse over the cloud machine name bar, you can perform the following operations through the "More" icon or right-click menu in the cloud machine window:
| Operation | Description |
|---|---|
| Reset Cloud Machine | Clear all data on this cloud machine, parameters unchanged. |
| Close Cloud Machine | Only close this cloud machine, can be started again. |
| Delete Cloud Machine | Delete this cloud machine and its data (cannot be recovered). |
| Modify Name | Length 2–11 characters, allows (a–z, A–Z, 0–9, -._). |
| Modify Image | Select the image to replace, different Android versions will clear data. |
| Language & Timezone | Modify the language and timezone settings of the cloud machine's country/region. |
| Set Proxy | Enter proxy protocol, server address, port, account password. |
| Clone | Quickly create a new cloud machine with the same configuration based on an existing cloud machine (shutdown state only). |
| One-Click New Machine | Reset cloud machine device parameters and update system properties, supports single or batch operations. |
| Restart Cloud Machine | Restart the cloud machine system. |
| API Interface | Click to jump to API web page. |
| Cloud Machine Details | View basic information, configuration parameters, and network connection information of the current cloud machine. |
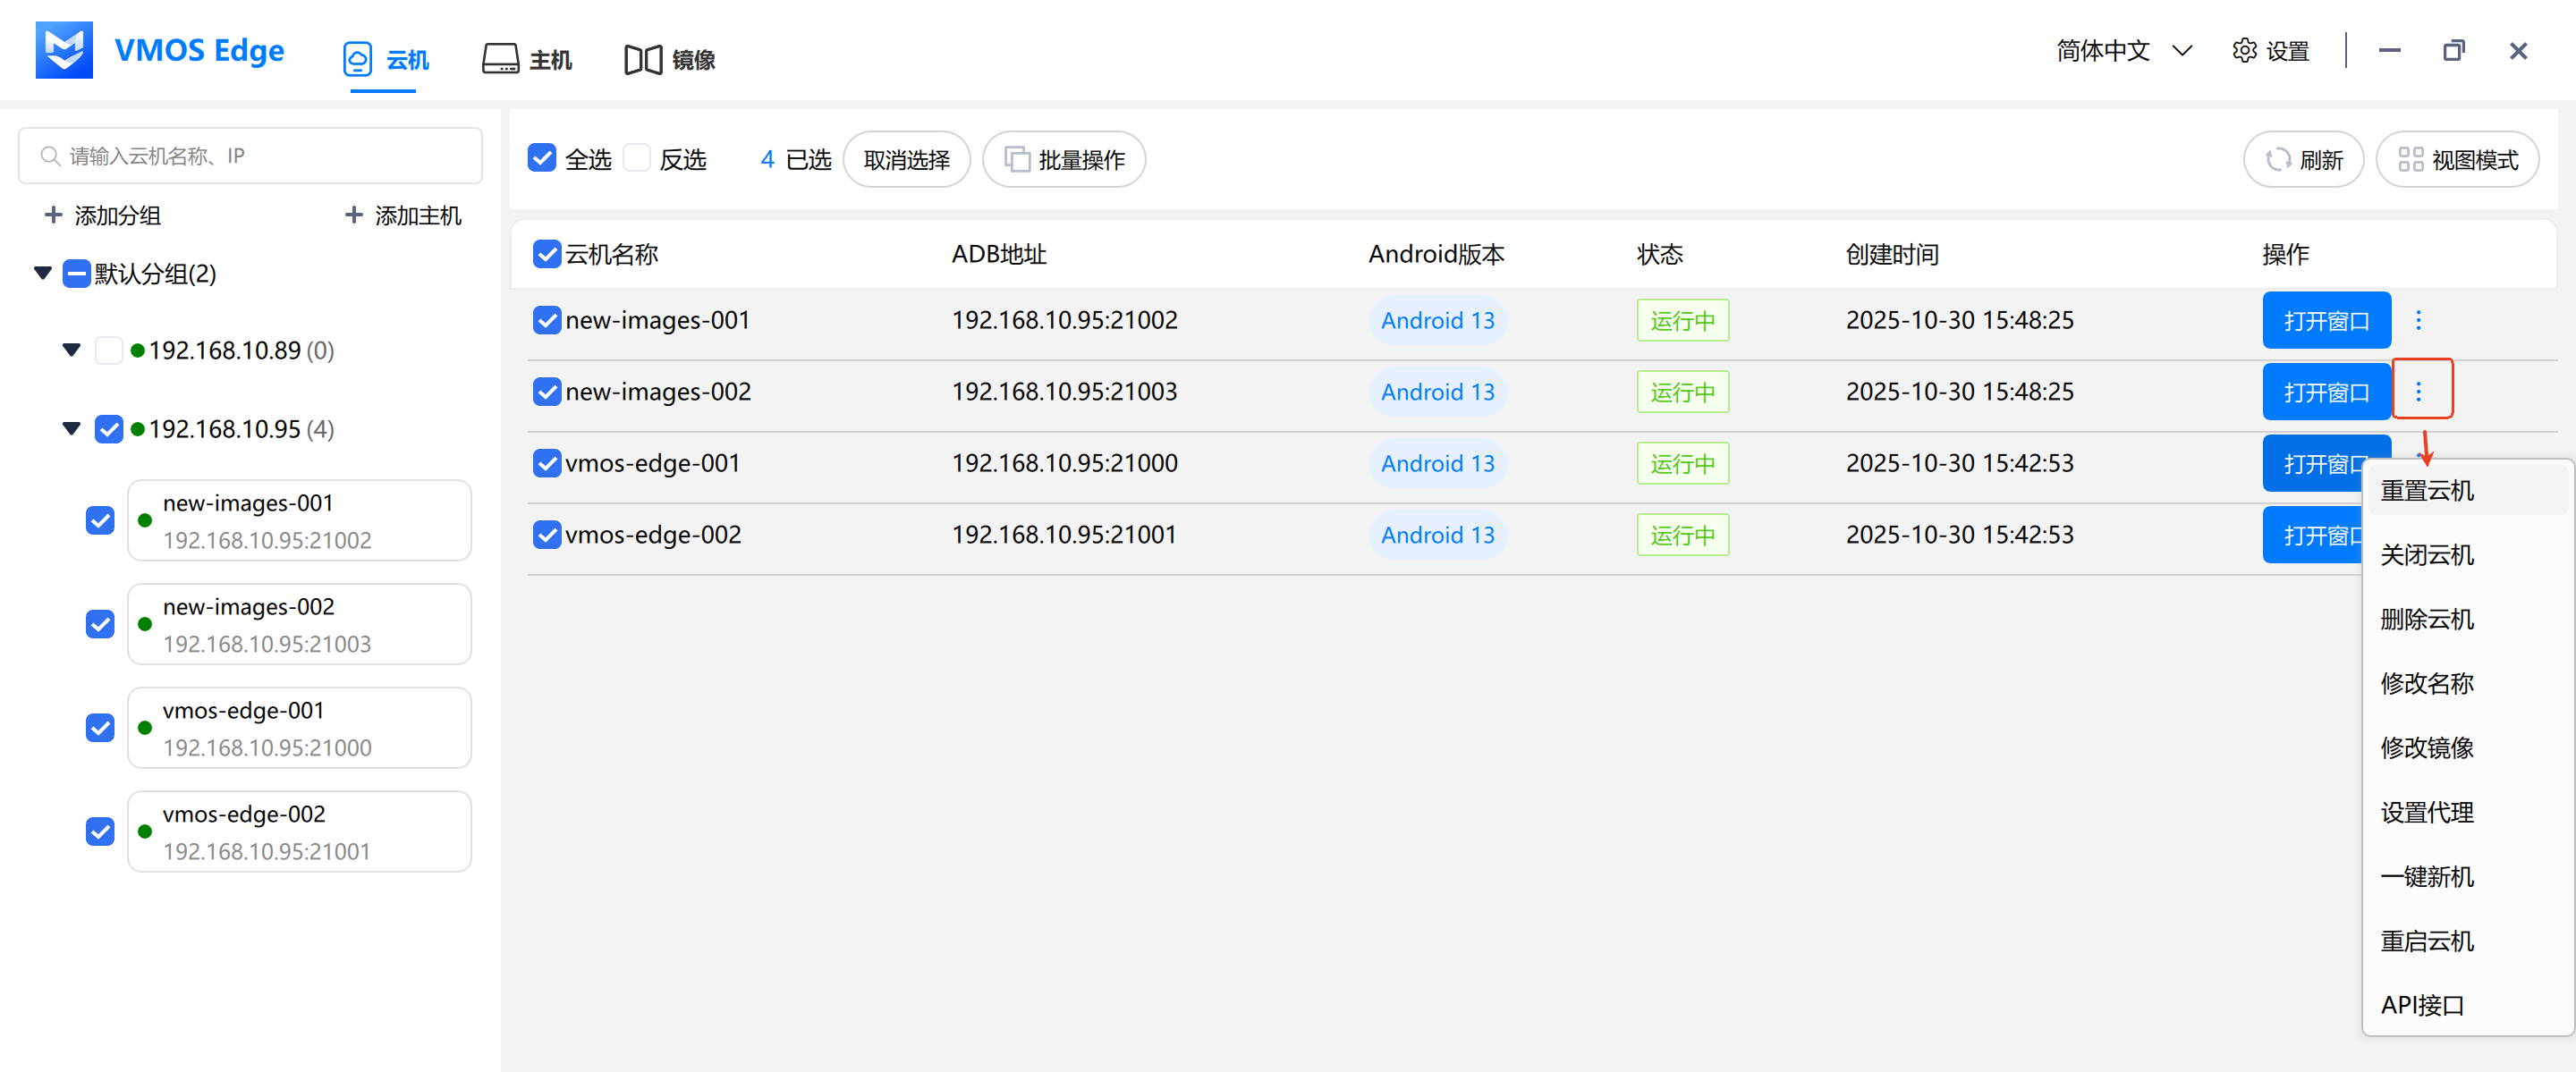
💡 Note:
- In the cloud machine list page, you can open the operation menu through the "More" button (such as cloud machine details).
- In the cloud machine window, you can quickly access some functions through the right-click menu (such as one-click new machine, set proxy, etc.).
2.1 Batch Operation Button
Click the "Batch Operation" button at the top of the cloud machine list to perform the same operation on multiple selected cloud machines at once.
Operation Method:
- Check multiple cloud machines that need to be operated in the cloud machine list
- Click the "Batch Operation" button above the list
- Select a specific function from the dropdown menu
- Confirm the content in the popup confirmation window and execute
Common batch operations include:
| Batch Operation | Description |
|---|---|
| Start Cloud Machine | Start multiple shutdown cloud machines at the same time. |
| Reset Cloud Machine | Batch clear cloud machine data, parameters remain unchanged. |
| Close Cloud Machine | Batch close running cloud machines. |
| Delete Cloud Machine | Batch delete selected cloud machines and their data (cannot be recovered). |
| Modify Name | Batch rename cloud machines, system automatically adds numbers. |
| One-Click New Machine | Batch execute one-click new machine operation on multiple cloud machines. |
| Restart Cloud Machine | Batch restart selected cloud machines. |
| One-Click Screen Mirroring | Open multiple cloud machine screen mirroring windows at the same time. |
| One-Click Sort | Adjust the display order of cloud machines according to preset rules. |
| One-Click Close | Close all selected cloud machine windows at once. |
3. Clone Cloud Machine
The clone function allows you to quickly create new cloud machine instances with the same configuration based on existing cloud machines, suitable for scenarios that require batch creation of cloud machines with the same environment.
3.1 Operation Steps
- Switch to List Mode view (clone function is only available in list mode)
- Find the source cloud machine in shutdown state (only cloud machines in shutdown state can be cloned)
- Click the "Clone" button in the cloud machine operation bar
- In the popup clone dialog:
- Enter new cloud machine name:
- Name length limit is 2–11 characters
- Allows lowercase letters (a–z), uppercase letters (A–Z), numbers (0–9), hyphen (-), underscore (_), period (.)
- When clone quantity > 1, the system will automatically add numbers after the name (such as
vmos_001,vmos_002)
- Select clone quantity: A single clone operation can create up to 12 cloud machines
- Optionally check "Modify Cloud Machine Parameters" option (optional):
- Unchecked: The cloned cloud machine will completely inherit all parameters of the source cloud machine, including device identifiers, network information, etc. The new cloud machine will inherit the system configuration, application data, and environment settings of the source cloud machine
- Checked: The cloned cloud machine will randomly generate new device parameters based on the selected country (such as IMEI, SIM information, Bluetooth address, etc.), making it appear as a different device at the application level, suitable for scenarios that require device fingerprint differentiation
- Enter new cloud machine name:
- Click "Confirm" to start the clone operation
💡 Tip: After cloning is complete, the new cloud machine will inherit the system configuration, application data, and environment settings of the source cloud machine. Compared to creating cloud machines from images, the clone method can retain installed applications and configurations, greatly improving batch deployment efficiency.
4. One-Click New Machine
The one-click new machine function is used to reset the device parameters and system properties of the cloud machine, regenerate device identification information (such as IMEI, SIM information, Bluetooth address, etc.), while retaining the core identifiers of the cloud machine (db_id and user_name), suitable for scenarios that require changing device fingerprints or resetting cloud machine environments.
4.1 Single One-Click New Machine
Perform one-click new machine operation on a single cloud machine:
- Right-click the cloud machine window (or cloud machine item in the cloud machine list)
- Select "One-Click New Machine" function
- In the popup dialog:
- Select brand and model (optional, used to specify device model)
- Optionally check "Clear Data" option (optional):
- Checked: Will clear all applications and user data on the cloud machine, restore to initial state
- Unchecked: Retain existing applications and data, only update device parameters and system properties
- Click "Confirm" to start executing the one-click new machine operation
⚠️ Note: After executing one-click new machine, the cloud machine will automatically restart and update device parameters. If "Clear Data" is checked, all applications and data on the cloud machine will be cleared, please operate with caution.
💡 One-click new machine will execute asynchronously in the background, the cloud machine name and ID remain unchanged, the system will automatically generate new device information based on the cloud machine's country (such as SIM card, language, timezone, etc.), making the cloud machine appear as a "new device" in applications.
4.2 Batch One-Click New Machine
Perform one-click new machine operation on multiple cloud machines in batch:
- Check multiple cloud machines that need to execute one-click new machine in the cloud machine list
- Click the "Batch Operation" button
- Select "One-Click New Machine" function
- In the popup dialog:
- Optionally check "Clear Data" option (optional)
- Note: During batch operations, each cloud machine's model will remain unchanged
- Click "Confirm" to start batch execution
💡 Tip: Batch one-click new machine also executes in the background, the system will automatically control the number of cloud machines processed simultaneously to avoid occupying too many resources; each cloud machine will generate new device information that conforms to local rules based on its respective country.
5. Cloud Machine Details
The cloud machine details function is used to view the basic information, configuration parameters, and network connection information of the cloud machine, helping you quickly understand the current status and configuration of the cloud machine.
5.1 View Cloud Machine Details
- Hover the mouse over the cloud machine name bar or cloud machine list page
- Click the "More" icon
- Select "Cloud Machine Details" function
- View various information of the cloud machine in the popup details window
5.2 Details Information Description
The cloud machine details window displays the following information:
- Cloud Machine ID: The unique identifier of the cloud machine, used for internal system identification and management
- Cloud Machine Name: The display name of the cloud machine, can be changed in the "Modify Name" function
- Image Version: The system image version number currently used by the cloud machine
- Android Version: The Android system version running on the cloud machine (such as Android 10, 13, 14, 15)
- Brand: The device brand simulated by the cloud machine (such as OnePlus, Samsung, etc.)
- Model: The device model simulated by the cloud machine
- ADB: The ADB connection address and port of the cloud machine, in the format of
IP address:port number, can be used to connect to the cloud machine through ADB tools - Local Network: The network configuration information of the cloud machine in the local area network (if configured, it will be displayed, otherwise displayed as "-")
💡 Tip: The ADB address in cloud machine details can be used to connect to the cloud machine through Android Debug Bridge tools for application debugging, file transfer, and other operations.
6. Set Proxy
The set proxy function is used to configure a network proxy server for the cloud machine, allowing the cloud machine to access the internet through the specified proxy exit.
Operation Steps:
- Hover the mouse over the cloud machine name bar or cloud machine window page
- Right-click "Set Proxy"
- Fill in proxy information in the popup:
- Proxy Protocol: Select
HTTP/HTTPS/SOCKS5(SOCKS5 recommended by default) - Server Address: Enter proxy IP or domain name, for example
192.168.1.100orproxy.example.com - Service Port: Enter proxy port, range 1–65535
- Account / Password: If the proxy requires login, enter the corresponding account and password, otherwise can be left empty
- Proxy DNS: If you need to route domain name resolution through the proxy, you can enable it; if the cloud machine cannot access the internet after enabling, please turn off this switch
- Enable UDP: Some games and audio/video applications require UDP, can be enabled as needed
- Proxy Protocol: Select
- You can click "Check Proxy" to test connectivity, then click "Confirm" to save after success
💡 Optional Self-Test Steps (on PC): First test whether the proxy is available using the
curlcommand in the local terminal, then fill in the same configuration in the cloud machine:
Replaceusername,password,domain,portin the following command with your proxy information and execute:curl -x socks5h://username:password@domain:port gip.dogIf the command can normally return web page content, it means the proxy itself is available.
After the proxy is successfully set, it will be displayed in the cloud machine's dropdown status bar. To cancel the proxy, simply open "Set Proxy" again, click "Close Proxy" on the proxy information page, and the cloud machine will restore direct network connection.


